We have called upon our resident antiques dealer, Mark Hill, to offer you some tips and tricks to help make online selling a success. The first in the series covers his personal photographing prep hacks, and we hope you enjoy it!
What are the tricks he uses for capturing great shots? Watch the video at the end of this blog for some guidance prepping your items for a flawless photoshoot for your website, catalog, or your marketplaces.
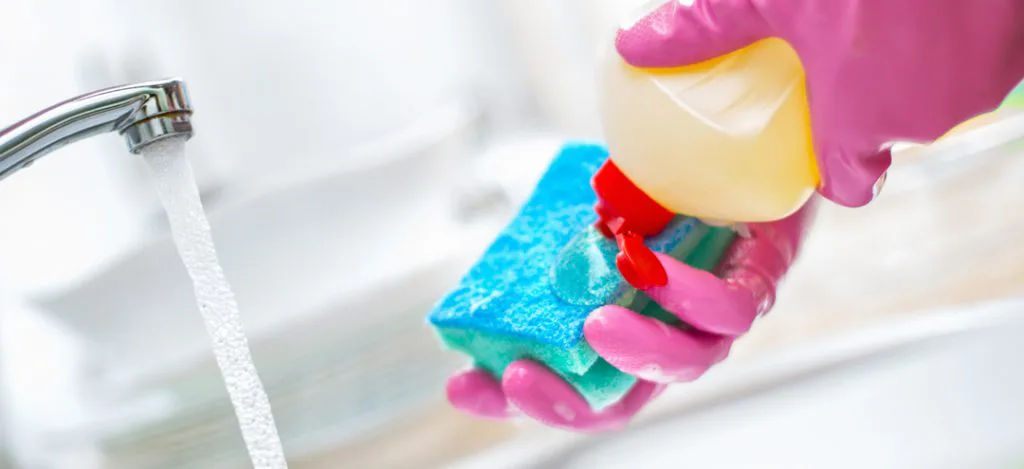
Mark’s Cleaning Tips
Before taking any images, clean your piece so it is spotless. Mark uses dish soap or ‘washing up liquid’, as it is called in the UK, for many items. Use only use lint-free cleaning cloths, so no bits of fluff are left behind – they will show in your photo! For silver, use silver polish, or for furniture pieces, break out the furniture polish. You need the item to look its best before taking any photos. If an item has a high sheen, such as silver, wear gloves when cleaning or handling it to avoid the inevitable smudges and fingerprints. But handle things slowly and with care – white fabric gloves can be slippery!
Don’t Rush It!
Let the piece dry completely before taking a photo. For an object like a decanter, little water droplets left inside can be removed by placing a paper towel from a kitchen roll inside and leaving the item to dry in the sun or a warm room. The paper towel wicks away the moisture, leaving the inside of the piece clean and dry. Don’t rush it, let every piece dry before you start your shoot.
Remove the Sticky Stuff
Price stickers or inventory stickers, or the sticky stuff left on the piece by them, must be removed. Mark uses lighter fluid for this task, or you can invest in a commercial brand such as TacAway to remove it. You may not think the sticky bits will show in your photo, but they will – especially if it’s glass! You’ll also need to consider that many buyers will want to see the bottom or base of a piece, and any marks shown there, so you’ll need to do a photograph of that. Stock, inventory or price labels don’t need to be seen in this image!
Make Space for Your Shoot
Clear your space before photographing your pieces, so you have plenty of room to move around with the piece in hand without running into other objects or being unable to set a heavy piece down quickly! Also think about the space required to maneuver a piece into place, especially large pieces (like a sideboard) that may require more than one person to move.
Watch the Video
Equipment Resources
You need a white backdrop, lights, and a tripod for your shoot. Find out more by reading our blog, “Photographing Large Items.” Mark has provided some links to some of what he recommends, all of which can be found in multiple ways – this is just a general guide.
- Microfiber cleaning cloths, Amazon UK
- Microfiber cleaning clothes, Amazon USA
- Streak-free cleaner spray Amazon UK
- Streak-free cleaner spray Amazon USA
- TacAway Remover Amazon UK
- Goo Gone Adhesive Remover Amazon USA
- White Photography Backdrop Amazon UK
- White Photography Backdrop Amazon USA
- Background Backdrop Support (Small) Amazon UK
- Backdrop Support (Large) Amazon UK
- Backdrop Support (Small) Amazon USA
- Backdrop Support (Large) Amazon USA
Our team at Ronati has one goal – to help you succeed at the online sales game! We hope you find Mark’s photography prep work hacks helpful – let us know!